
Proposal Card Designed using HTML, CSS and JS
Proposal Card Designed using HTML, CSS and JS
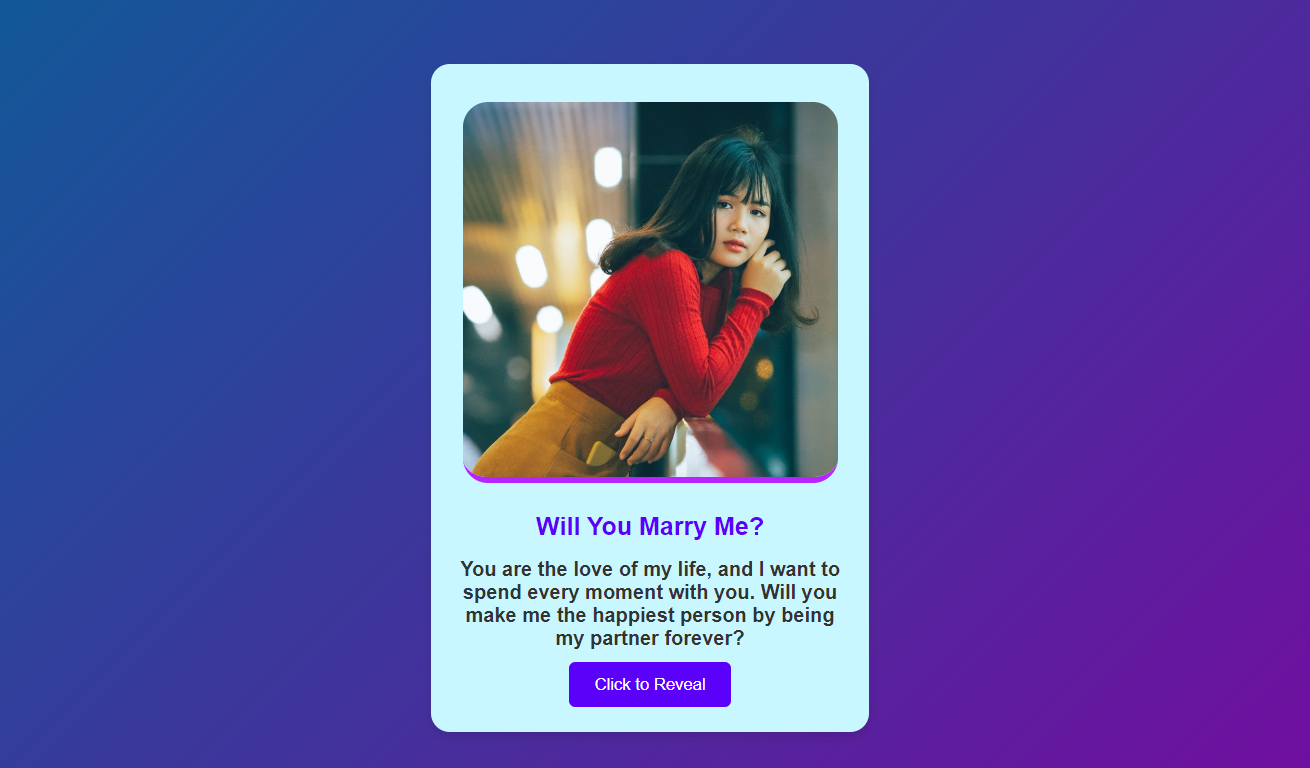
Creating a beautiful and interactive Proposal Card using HTML, CSS and JS (JavaScript) is a fun and rewarding project. This card includes a stunning background, an image, a heartfelt message and a button that reveals a hidden message when clicked. Below is a detailed description and code for creating this Proposal Card.

HTML Structure
The HTML structure consists of a card container that contains an image, a main message and a button that reveals a hidden text.
!DOCTYPE html>
<html lang="en">
<head>
    <meta charset="UTF-8">
    <meta name="viewport" content="width=device-width, initial-scale=1.0">
    <title>Proposal Card "Designed by SM Edtech"</title>
    <style>
        /* CSS goes here */
    </style>
</head>
<body>
<div class="card">
    <div class="container">
        <div class="image-container">
            <img src="propose.jpg" alt="Girlfriend">
        </div>
    <div class="text-container">
        <h1>Will You Marry Me?</h1>
        <p>"your message here......!"</p>
        <button class="btn" id="revealText">Click to Reveal</button>
        <p class="hidden-text" id="hiddenText">I love you more than words can say!</p>
    </div>
</div>
</div>
<script>
    // JavaScript goes here
</script>
</body>
</html>
HTML Code Explanation;
- <div class=”card”>: The main container for the proposal card.
- <div class=”container”>: A sub-container for organizing the content.
- <div class=”image-container”>: A container for the image.
- <img src=”propose.jpg” alt=”Girlfriend”>: The image of the proposal with an alt text.
- <div class=”text-container”>: A container for the textual content.
- <h1>Will You Marry Me?</h1>: The main heading with the proposal question.
- <p>You are the love of my life…</p>: A paragraph with a heartfelt message.
- <button class=”btn” id=”revealText”>Click to Reveal</button>: A button to reveal the hidden message.
- <p class=”hidden-text” id=”hiddenText”>I love you more than words can say!</p>: A hidden paragraph that reveals a message when the button is clicked.
JavaScript for Interactivity
The JavaScript adds interactivity to the proposal card by revealing a hidden message when the button is clicked.
<script>
    document.getElementById('revealText').addEventListener('click', function(){
    document.getElementById('hiddenText').style.display = 'block';
});
</script>
JavaScript Code Explanation;
- getElementById(‘revealText’): Selects the button element with the id of revealText.
- .addEventListener(‘click’, function() { … }): Adds a click event listener to the button. When the button is clicked, the function inside the event listener is executed.
- getElementById(‘hiddenText’): Selects the paragraph element with the id of hiddenText.
- .style.display = ‘block’;: Changes the CSS display property of the hidden text to block, making it visible.
Full Code;
Combining the HTML, CSS and JavaScript, you have a complete, interactive Proposal Card. Here is the complete code for the proposal Card that’s you can Copy and design according to you:
<!DOCTYPE html>
<html lang="en">
<head>
    <meta charset="UTF-8">
    <meta name="viewport" content="width=device-width,
     initial-scale=1.0">
    <title>Proposal Card "Designed by SM-Edtech"</title>
    <style>
body {
    display: flex;
    justify-content: center;
    align-items: center;
    height: 100vh;
    background: linear-gradient(135deg, #016597 0%,
    #8101a1 100%);
    margin: 0;
    font-family: 'Arial', sans-serif;
}
.card {
    background: rgb(200, 247, 255);
    border-radius: 15px;
    box-shadow: 0 4px 8px rgba(0, 0, 0, 0.1);
    overflow: hidden;
    width: 90%;
    max-width: 350px;
}
.container {
    display: flex;
    flex-direction: column;
    justify-content: center;
    align-items: center;
    padding: 20px;
    text-align: center;
}
.image-container{
    margin: 50px;
    margin-top: 10px;
    margin-bottom: 10px;
    width: 300px;
    height: 300px;
    overflow: hidden;
    position: relative;
    border-bottom: 5px solid #b624ff;
    border-radius: 20px;
}
img {
    width: 100%;
    border-radius: 10px;
    height: auto;
    transition:0.5s ease;
}
img:hover {
    transform: scale(1.4);
    transform-origin: 100% 10%;
    cursor: pointer;
}
.text-container h1 {
    color: #5b00f9;
    font-size: 20px;
}
.text-container p {
    color: #333;
    margin: 10px 0;
    font-weight: bold;
}
.btn {
    background-color: #5b00f9;
    color: white;
    border: none;
    padding: 10px 20px;
    border-radius: 5px;
    cursor: pointer;
    transition: background-color 0.3s ease;
}
.btn:hover {
    background-color: #0674f2;
}
.hidden-text {
    display: none;
    color: #026bb0;
    margin-top: 20px;
    font-size: 16px;
    animation: fadeIn 1s forwards;
}
@keyframes fadeIn {
    from {
        opacity: 0;
    }
    to {
        opacity: 1;
    }
}
    </style>
</head>
<body>
<div class="card">
<div class="container">
    <div class="image-container">
        <img src="propose.jpg" alt="Girlfriend">
    </div>
    <div class="text-container">
        <h1>Will You Marry Me?</h1>
        <p>You are the love of my life, and I want to
            spend every moment with you. Will you make me
            the happiest person by being my partner forever?</p>
        <button class="btn" id="revealText">Click to Reveal</button>
        <p class="hidden-text" id="hiddenText">I love you more than
            words can say!</p>
        </div>
   </div>
</div>
<script>
    document.getElementById('revealText').addEventListener('click', function(){
    document.getElementById('hiddenText').style.display = 'block';
});
</script>
</body>
</html>
Conclusion
Creating a Proposal Card Designed using HTML, CSS and JS is a fun and rewarding project that showcases the power of these web technologies. With just a few lines of code, you can design a beautiful and interactive card that can make a significant impact.
Whether you are a beginner looking to practice your skills or a seasoned developer seeking to create something special, this proposal card is a great project. Customize it further to match your personal style or to better suit the occasion you are celebrating. Happy coding, and Best of Luck with your Proposals!
Learn More;


0 Comments