CSS Button
CSS Button
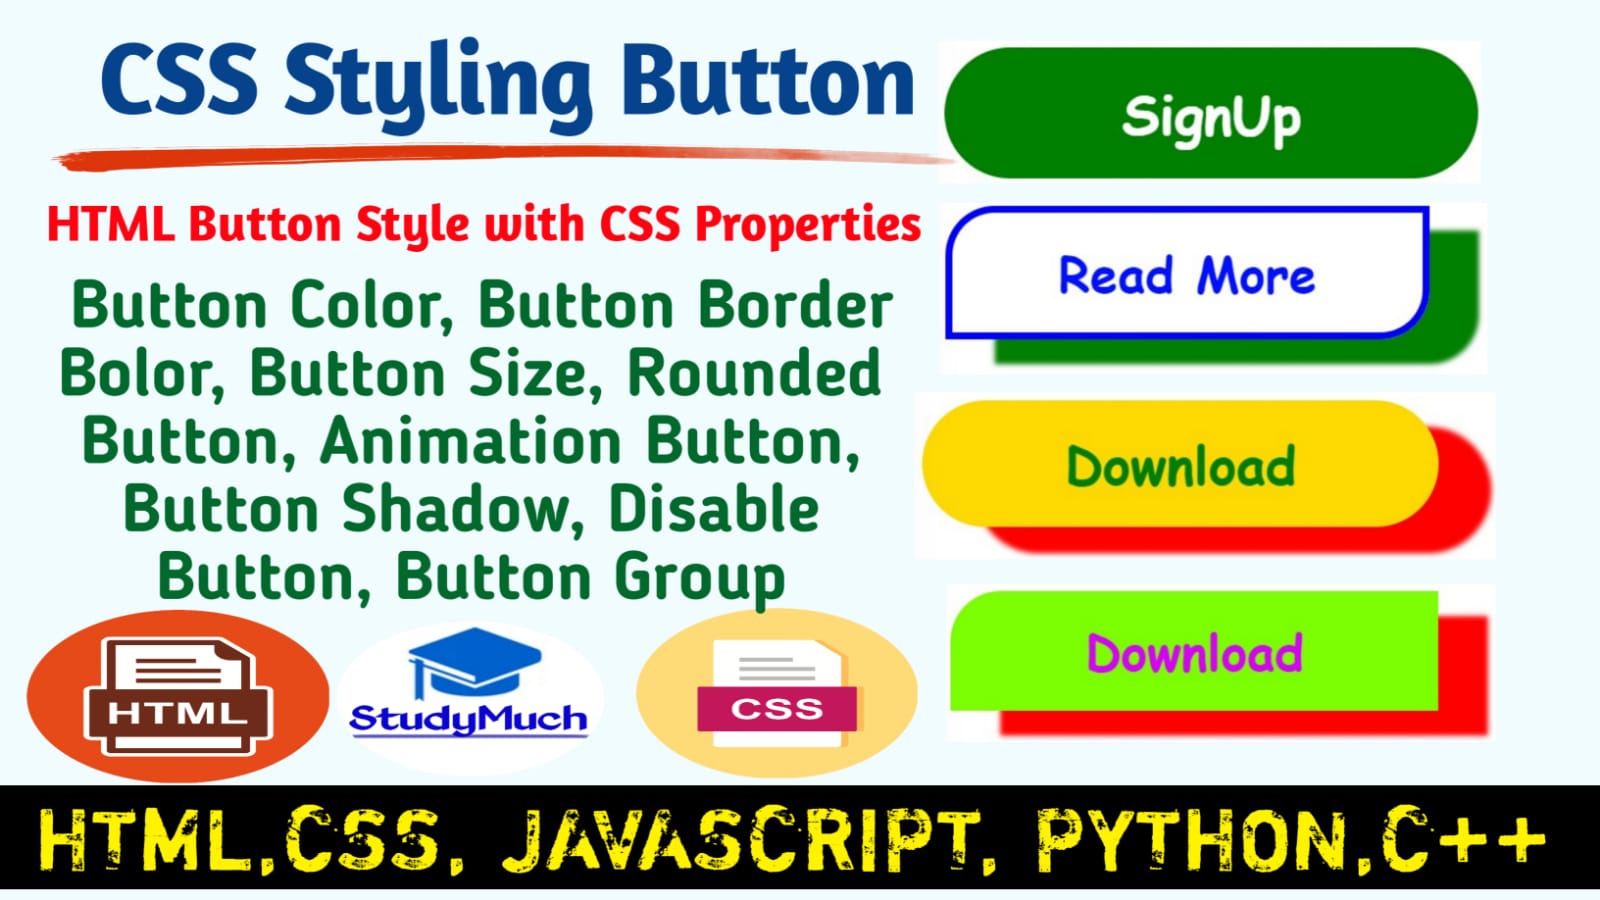
In this tutorial we will learn how to style the HTML Button with the CSS properties, here we also see the programming examples of all the button style with output. We learn button style type such as simple button, button color, button border color, button size, rounded button, animation button, button shadow, disable button, button group etc.
If you don’t know how to create button in HTML, Visit and Learn HTML Button Tutorial.
Button Color
Now we change the color of button, we can use the color property of CSS to change the color text inside the button, and if you change the background color of button, we need to use background-color property of CSS.
Now we see the programming example of Button’s text color and button’s background color.
Example of Button’s color and background;
<!DOCTYPE html> <html lang="en"> <head> <title>CSS Button Style</title> <style type="text/css"> button{ font-weight: bold;} #button-a{background-color: aqua; color: red;} #button-b{ background-color: green; color: white;} #button-c{background-color: blue; color: white;} </style> </head> <body> <button id="button-a">Submit</button> <button id="button-b">Login</button> <buttoid="button-c">SignUp</button> </body> </html> |
Output of above programming example;
 |
Buttons Without Border
Now we remove the border of buttons, to remove the default border of Buttons we need to use border
CSS property to none.
Now we see the programming example of Buttons without border.
Programming example of Button without Border;
<!DOCTYPE html> <html lang="en"> <head> <title>CSS Button Style</title> <style type="text/css"> button{ font-weight: bold; border: none;} #button-a{background-color: aqua; color: red;} #button-b{ background-color: green; color: white;} #button-c{background-color: blue; color: white;} </style> </head> <body> <button id="button-a">Submit</button> <button id="button-b">Login</button> <button id="button-c">SignUp</button> </body> </html> |
Output of above programming examples;
 |
Above you can see the output of programming example, the border of buttons is not seen on the buttons, because we used here border: none property of CSS.
CSS Buttons – Padding
We also increase the padding of Buttons, for doing this we need to use the padding property of CSS.
Programming example of Button – Padding;
<!DOCTYPE html> <html lang="en"> <head> <title>CSS Button Style</title> <style type="text/css"> button{ font-weight: bold; border: none; padding: 10px 30px;} #button-a{background-color: aqua; color: red;} #button-b{ background-color: green; color: white;} #button-c{background-color: blue; color: white;} </style> </head> <body> <button id="button-a">Submit</button> <button id="button-b">Login</button> <button id="button-c">SignUp</button> </body> </html> |
Output of above programming example;
 |
Above you can see the programming output, the padding of buttons are increase both all side up-down and right-left.
Button’s Font Size
We also increase and decrease the font size of the button, to increase the font size of the button, we need to use one of the CSS properties and that is font-size.
Programming example of Button’s Font Size;
<!DOCTYPE html> <html lang="en"> <head> <title>CSS Button Style</title> <style type="text/css"> button{ font-weight: bold; border: none; padding: 10px 30px; font-size:20px; margin: 10px;} #button-a{background-color: aqua; color: red;} #button-b{ background-color: green; color: white;} #button-c{background-color: blue; color: white;} </style> </head> <body> <button id="button-a">Submit</button> <button id="button-b">Login</button> <button id="button-c">SignUp</button> </body> </html> |
Output of above programming example;
 |
Above output of programming, you can see the margin and font size of button is more than basic and simple button of HTML. Here we increase the size of Button’s inside font size and also increase the margin between buttons.
Button With Transparent Background & Border;
Here we remove the background of buttons and make colorful border outside of button. We make transparent background of button, to do this we need to use background: transparent property of CSS.
Programming Example Transparent Background;
<!DOCTYPE html> <html lang="en"> <head> <title>CSS Button Style</title> <style type="text/css"> button{ font-weight: bold; padding: 10px 30px; font-size:20px; outline: none; margin: 10px; background: transparent;} #button-a{border: 5px solid green; color: red;} #button-b{border: 5px solid red; color: blue;} #button-c{border: 5px solid darkred; color:darkorange} </style> </head> <body> <button id="button-a">Submit</button> <button id="button-b">Login</button> <button id="button-c">SignUp</button> </body> </html> |
Output of above programming example;
 |
Border with Round Corner
To create the Round Button, we need to use the border-radius property of CSS. To create the rounder button we need valid vale, the value should be a <length> or <percentage>.
Programming Example of Round corner Button;
<!DOCTYPE html> <htmllang="en"> <head> <title>CSS Button Style</title> <style type="text/css"> button{ font-weight: bold; padding: 10px 30px; font-size:20px; outline: none; margin: 10px; background: transparent;} #button-a{border: 5px solid green; border-radius: 10%; color: green} #button-b{outline: none; background-color: brown; color: white; border-radius: 30px;} #button-c{border: 5px solid rgb(0, 123, 139); border-bottom-left-radius: 20px; border-top-right-radius:20px ; color:rgb(255, 0, 0)} </style> </head> <body> <button id="button-a">Submit</button> <button id="button-b">Login</button> <button id="button-c">SignUp</button> </body> </html> |
Output of above programming example;
 |
Above you see in output, the button corner is rounded.
CSS Buttons Box Shadow
We also set the box shadow of button to make more beautiful, to do this we need to using the box-shadow property of CSS. Below see the programming and output.
Programming Example of Button Shadow;
<!DOCTYPE html> <html lang="en"> <head> <title>CSS Button Style</title> <style type="text/css"> button{ font-weight: bold; font-family: cursive; padding: 10px 20px; font-size:20px; margin: 10px; background: transparent;} #button-a{border: 5px solid green; border-radius: 20px; color: green; box-shadow: 10px 4px 1px greenyellow;} #button-b{outline: none; background-color: brown; color: white; border: none; border-radius: 30px; box-shadow: 5px 7px 4px red;} #button-c{border: 5px soli rgb(0, 44, 139); border-bottom-left-radius: 20px; border-top-right-radius:20px ; color:rgb(255, 0, 0); box-shadow: 5px 5px 4px 3px rgb(0, 139, 109);} </style> </head> <body> <button id="button-a">Submit</button> <button id="button-b">Login</button> <button id="button-c">SignUp</button> </body> </html> |
Output of above programming example;
 |
Above output of programming, you can see all button shadow and all shadow is different each them.
Button – Mouse Over Effect
We can use the :hover selector to add an effect when we move the mouse over a button. Then we need to use the transaction-duration properly to specify the duration of mouse over effect.
And change the icon of the curser during the effect, we need to use the curser property of CSS.
Programming Example;
<!DOCTYPE html> <html lang="en"> <head> <title> Button Shadow Style</title> <style type="text/css"> button{ font-weight: bold; font-family: cursive; padding: 10px 20px; font-size:20px; margin: 10px; background: transparent; transition-duration: 2px; -webkit-transition-duration: 2px;} #button-a{border: 5px solid green; border-radius: 20px; color: green; box-shadow: 10px 4px 1px greenyellow; cursor: pointer;} #button-b{outline: none; background-color: brown; color: white; border: none; border-radius: 30px; box-shadow: 5px 7px 4px red;} #button-c{border: 5px solid rgb(0, 44, 139); border-bottom-left-radius: 20px; border-top-right-radius:20px ; color:rgb(255, 0, 0); box-shadow: 5px 5px 4px 3px rgb(0, 139, 109);} #button-a:hover{background: green; color: white; box-shadow: 10px 4px 2px blue;} #button-b:hover{color: red; background: blue; box-shadow: 5px 5px 4px 3px blueviolet;} #button-c:hover{color: white; background: blue; cursor: pointer;} </style> </head> <body> <button id="button-a">Submit</button> <button id="button-b">Login</button> <button id="button-c">SignUp</button> </body> </html> |
Output of above programming example;
CSS Button Group
To create button group, we need to use float: left or right. Below sees the video programming example of output video.
<!DOCTYPE html> <html lang="en"> <head> <title> Button Group Style</title> <style type="text/css"> *{margin:0; padding:5px;} body{padding-top: 35px;} .allbutton button{ font-weight: bold; font-family: cursive; padding: 5px10px; font-size:20px; border: none; background:rgb(250, 229, 135); color: blue; border: 2px solid green; transition-duration: 2s; -webkit-transition-duration: 2s; float: left;} .allbutton button:hover {color: white; background: blue; border: 2px solid red; cursor: pointer;} </style> </head> <body> <div class="allbutton"> <button id="button-a">Submit</button> <button id="button-b">Login</button> <button id="button-c">SignUp</button> </div> </body> </html> |
Output Video of above programming;
Above output of programming video, you can see the button is horizontal and animation is good, if you want vertical button group used display: block.
CSS Button – Disabled
To make the button disabled in HTML we need to used the cursor: not allowed CSS properties. Use the opacity CSS property to make the button look disabled.
Programming Example;
<!DOCTYPE html> <html lang="en"> <head> <title> Button Group Style</title> <style type="text/css"> body{padding-top: 35px;} .allbuttonbutton{ font-weight: bold; font-family: cursive; padding: 5px 10px; font-size:20px; border: none; background:transparent; color: blue; border: 2px solid green; cursor: not-allowed;} </style> </head> <body> <div class="allbutton"> <button id="button-a">Submit</button> <button id="button-b">Log In</button> <button id="button-c">SignUp</button> </div> </body> </html> |
Output of above programming;
Above output of programming output, you can see the button is disabled, that means you cannot click the button.
In this tutorial we learned CSS simple button, button color, button border color, button size, rounded button, animation button, button shadow, disable button, button group with programming examples and output. If you have any doubt, ask in the comment section.
Read Also-
- Learn Styling HTML Table with CSS properties.
- Learn All Tutorial of HTML with Programming Examples.
- Learn how to insert CSS Icons with examples.
- Learn HTML Form Tag with examples
- Learn all tutorial of CSS with Examples.


1 Comment
zoritoler imol · July 4, 2022 at 4:30 am
you have a great blog here! would you like to make some invite posts on my blog?